According to Adobe’s State of Create study, 75% of people feel growing pressure to be productive rather than creative at work.
We’ve firsthand seen designers wait around for inspiration to magically appear, and then panic when the project deadline arrives. The reason is that most people don’t understand the creative process well enough to use it reliably.
In this article, we’ll walk you through a framework that gets you from zero to finished visual work without the usual stress. You’ll also learn about the stages where ideas manifest, how incubation speeds up your process, and the signs that tell you when to stop tweaking.
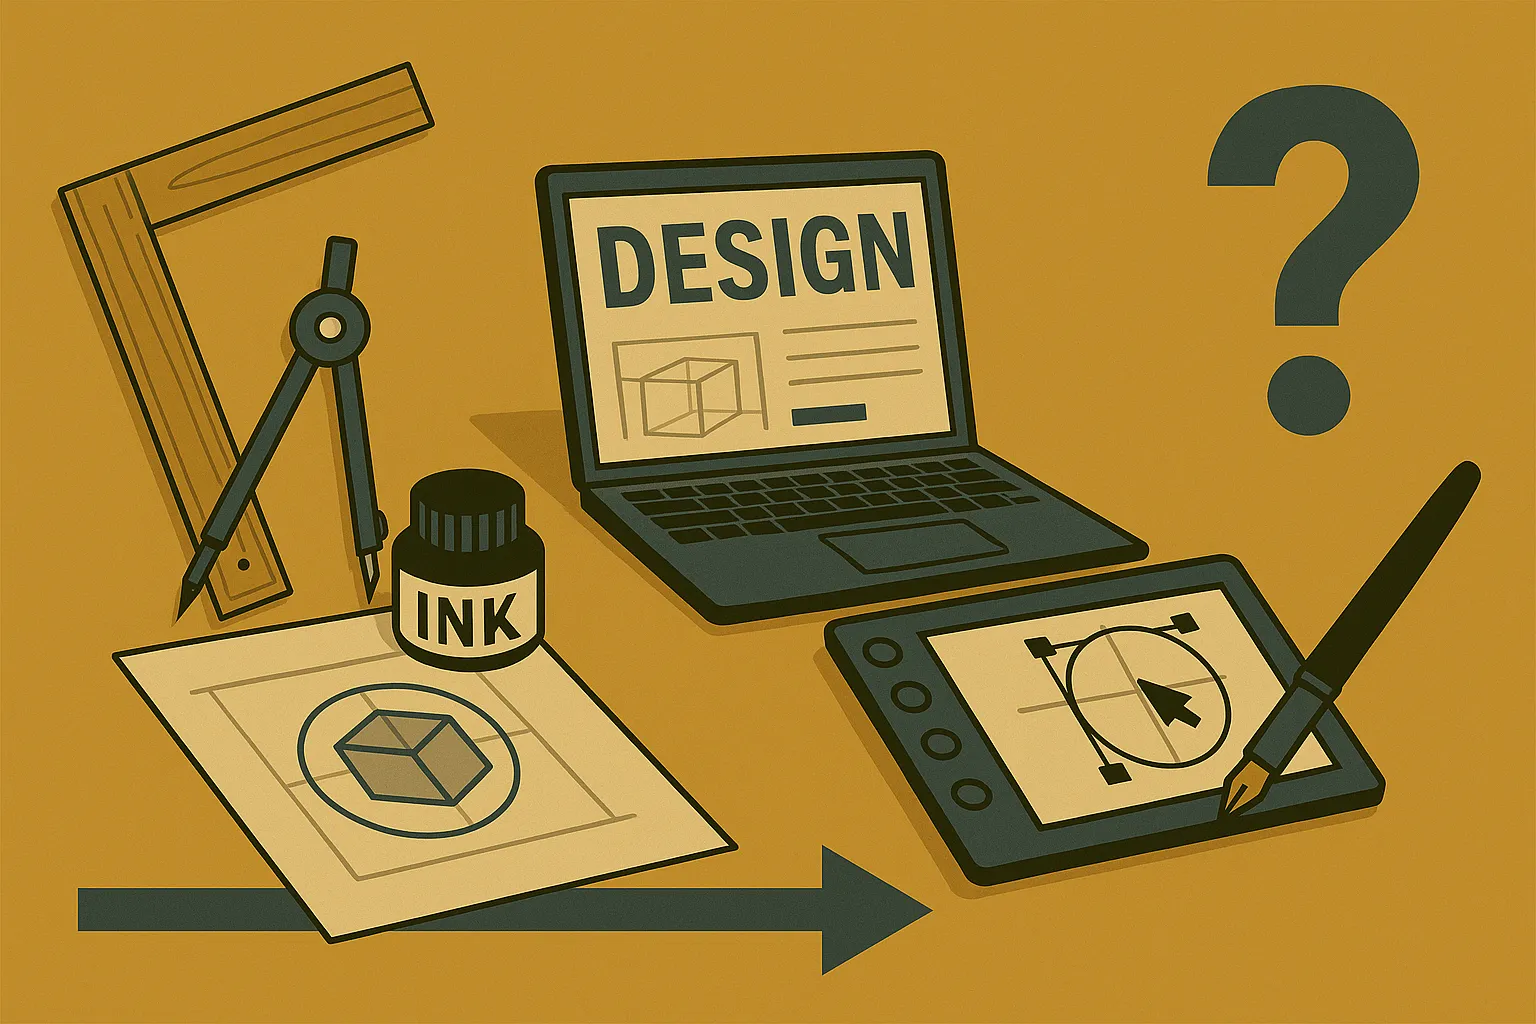
Let’s start with how the creative process works when it becomes a task.
How Structure Helps a Creative Process Come Together
A creative process comes together when it provides structure without locking you into rigid steps and killing spontaneity. Good creative frameworks act as guides, rather than an instruction manual you follow word for word.
Take a look at what happens when you’re building something creative.
The Framework vs. Reality Gap

Most creative frameworks you’ll find online promise neat, linear steps. Something like: first you research, then you brainstorm, then you design, and finally you’re done.
However, real design work doesn’t follow that path. You’ll find yourself jumping back to research when you’re halfway through building mockups because something doesn’t feel right (projects always zigzag more than they flow).
Even so, frameworks still help because they give you a mental map of where you are in the process. Like when you’re stuck gathering inspiration for three weeks straight, a framework reminds you that research is just one stage.
Design Work Needs Structure, Not Rules
The main difference between structure and rules is flexibility. Rules tell you exactly what to do and when. But structure gives you checkpoints without dictating how you reach them.
Designers need space to develop unexpected ideas that arise during the work. And a good structure tracks progress while leaving room for those creative detours that often produce the strongest solutions.
Starting Point: Where Creative Ideas Come From
The starting point for any creative project involves two things: taking in the right information and giving your brain space to connect it. After you process the initial instructions, your brain does some of its best creative work when you’re not actively trying to force ideas out (we all get them pouring in the shower or during a commute).
Here’s the reason behind this phenomenon.
Focusing on the Important Information
Creative ideas start with consuming relevant content like competitor designs, user research, and examples from adjacent fields. During this immersion, the secret is knowing what to absorb and what to ignore. If you don’t filter what you consume, you’ll drown in inspiration without generating anything useful.
Pro Tip: Save design examples that solve problems similar to your current project brief. It’s more convenient to create a simple folder system or use a tool like Pinterest boards, but keep it focused. So when you need inspiration later, you’ll have a curated collection instead of 400 random saves you’ll never look at again.
The Messy Truth About Idea Inception
Ideas rarely arrive as complete visions ready to execute. Instead, they start as loose hunches, half-formed thoughts, or weird connections between two completely unrelated things you saw last week.
Interestingly, your brain combines existing concepts from past projects into something new and workable. It pulls inspiration from here and there, and mixes techniques you’ve used before with fresh approaches you’ve just found out. This is why experienced designers work faster than beginners (they have more raw material stored up to remix).
Pro Tip: Write down half-formed ideas immediately before they disappear and send you back to square one. You can use your phone’s notes app, a notebook, or whatever works.
The Incubation Stage of a Creative Process
Did you know that Google’s 20% time policy lets employees dedicate one day per week to passion projects, which led to products like Gmail and Google News?
That’s basically the incubation stage, where you step away from the project and let your brain keep working in the background. This sounds backwards, but doing nothing is sometimes the only way your work progresses forward. Through this process, your brain makes new connections that you couldn’t force if you tried.

This is how incubation works for your projects:
- Talk It Through: One of the best ways is to find another designer or creative person and explain your concept out loud. This process exposes gaps in logic you might have missed on your own and reveals solutions you couldn’t see.
- Give It Time: When you get ideas, let them marinate for a day or two before finalising your direction. It’s because your brain needs time to process diverse ideas and find connections between them that eventually lead to better solutions.
- Question The Purpose: Before diving into the actual design, ask yourself what significance this project holds and how it helps the end user. When you’re clear on the purpose, the creative decisions become easier to make.
- Look Sideways For Inspiration: New ideas often come from completely unrelated sources when you’re willing to explore beyond your usual references. It’s a good approach to research adjacent fields like photography or architecture for unexpected visual solutions.
- Test Early: We suggest validating bigger projects with quick user feedback or client check-ins instead of building everything first. This early validation saves you from spending weeks in a direction that isn’t preferable.
The incubation stage might feel unproductive because you’re not actively creating anything. However, research from Stanford University shows that walking increases creative output by 60% (so just let it cook!).
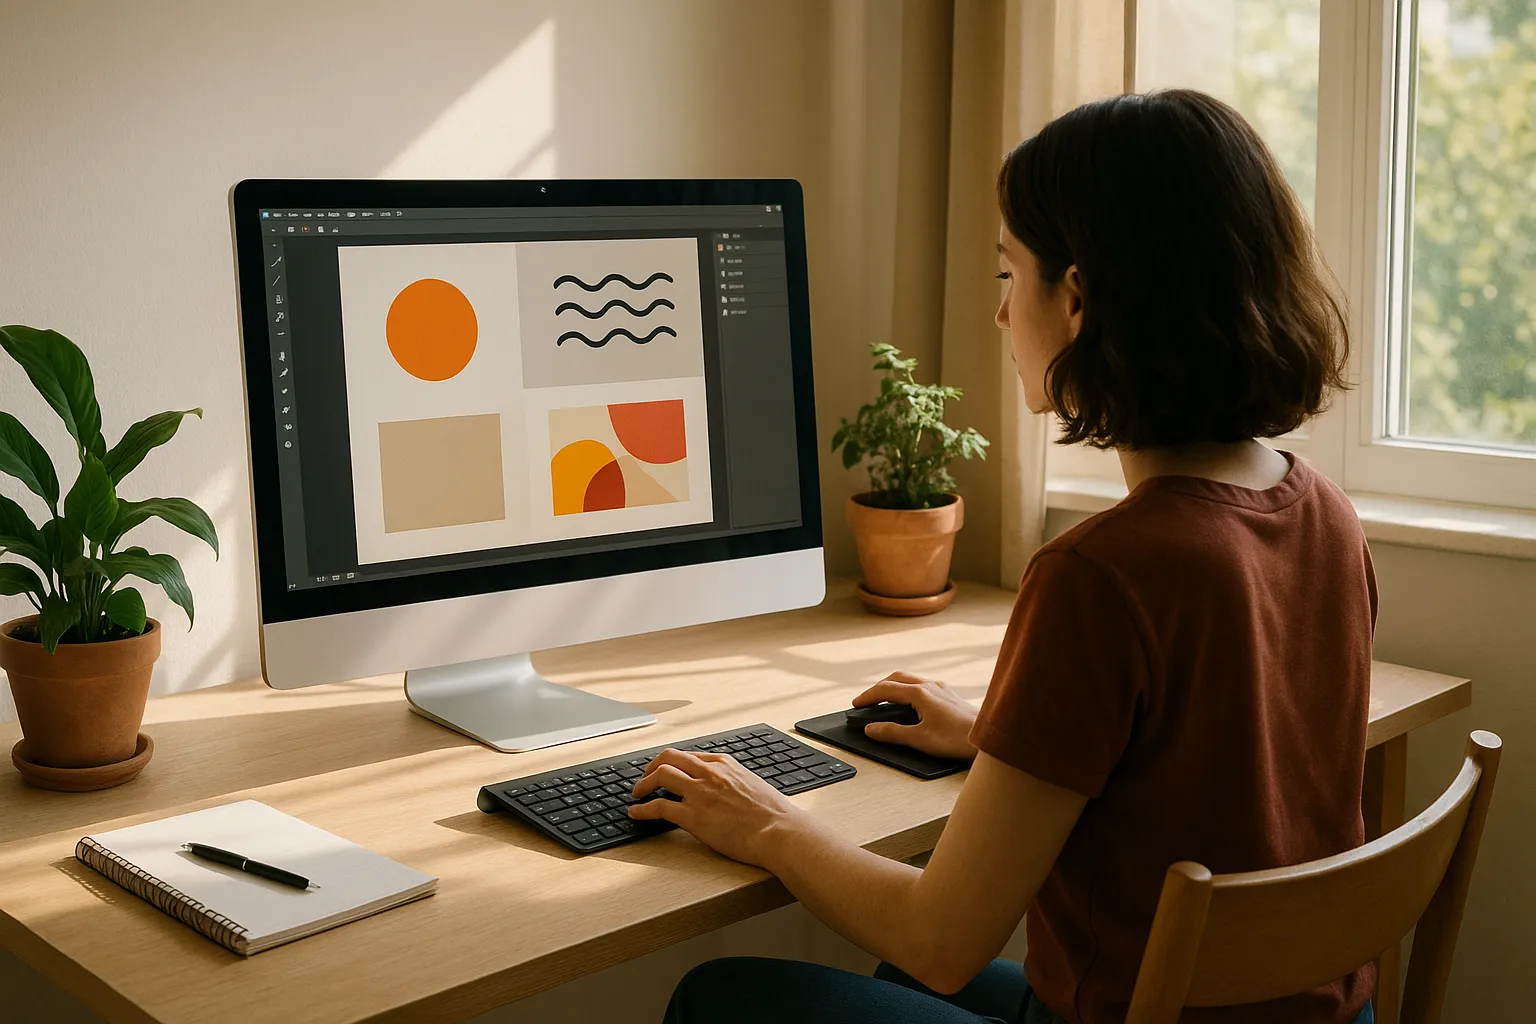
Building Your Visual Story: The Design Process Breakdown
Every design project tells some kind of story, whether you plan it or not. However, intentional storytelling connects with your audience while random design choices leave people confused.
Let’s break down the two most important parts of building your visual story.
Research Without Losing Yourself
Research competitor designs but don’t copy their layout or visual language directly. Keep in mind that you’re only looking for patterns and gaps, not templates to recreate.
The goal is understanding user behaviour rather than just collecting pretty screenshots. We’ve watched countless designers waste entire weeks collecting inspiration.
Pro Tip: Set a time limit for your research, or you’ll procrastinate on starting your main work. When you start seeing the same design patterns repeat across multiple sources, that’s the cue that you’ve absorbed enough to begin.
Setting Up Your Creative Environment
A fun approach is to choose music that matches your project’s energy. For instance, upbeat tracks work well for branding projects that need energy, while quiet instrumental music helps when you’re doing detailed layout work.
Along with the music, clear your workspace of distractions like phone notifications or cluttered browser tabs. Every ping pulls your attention away from the creative flow you’re trying to build.
Storytelling Design: Connecting Emotion and Purpose

Storytelling design is the fastest way to create work that people remember and share. When you build emotion into your visuals, the audience actually feels something instead of just scrolling past.
Here’s how to build that connection in your projects.
Understanding User Pain Points in Visual Creation
User research reveals frustrations that raw data like spreadsheets can’t show you clearly.
A great way is to conduct quick interviews or surveys to hear real stories about what annoys your users. When you hear someone describe their frustration trying to navigate a confusing website, that emotional context changes how you approach the design solution.
Pro Tip: Share interview recordings or direct quotes in team meetings so everyone understands the narrative you’re trying to address. This creates a shared story that guides every design decision throughout the project.
Designing for Real Problems
Storytelling forces you to design solutions for user conflicts, rather than optional additions they might mention in passing (features that look impressive but don’t solve problems, waste time). Each design decision should tie back to a user goal or pain point you’ve identified through research.
When you’re presenting design work to different audiences, like stakeholders or clients, it’s better to frame your decisions as solving specific parts of the user’s story. This approach makes your work more engaging and easier to defend when someone questions your choices.
Signs Your Graphic Design Workflow Is Good to Go
How do you know when to stop tweaking and ship your design? It’s usually when further tweaks no longer improve the outcome.
Listen, perfection is just another word for never launching. Every designer faces this moment where the work feels almost ready but not quite there yet. But the truth is, you’ll never feel 100% confident about shipping.
These signs tell you it’s time to launch instead of making one more tiny adjustment:
- Solves the Core Problem: The first sign is that your design addresses the main user issue you identified at the start. Meaning, it’s time to ship your design instead of chasing an impossible standard.
- Passes The Five-Second Test: At that stage, show your design to someone unfamiliar with the project. If they understand the main message within five seconds of viewing, your visual communication is done.
- Target User Validation: Along with that, get feedback from at least three users who match your target audience profile. Their input is more important than your design team’s opinions because they represent the people who’ll actually use your work.
- Minor Tweaks Can Wait: If you’ve identified small visual adjustments that could improve the design, note them down. As long as they’re not blocking the main functionality, those can be tweaked after launch based on real user behaviour data.
- Deadline Exists: Time constraints force design decisions and prevent the infinite revision cycle that kills momentum. So set a firm deadline, or you’ll endlessly polish details that don’t improve outcomes.
The most difficult part about shipping is accepting that “good enough really is good enough,” especially when it solves the problem you set out to fix.
Build New Ideas for Your Next Design Process
The creative process is a series of stages you can learn to level through. So instead of sitting stuck, start your next project by defining the user problem before jumping into any visuals. Maybe build a simple note-taking system to capture ideas when they hit you, because waiting until later means losing them forever.
Remember that messy creative processes produce better results than rigid, perfect ones. The framework might give you direction, but your willingness to go toward unexpected paths is what creates a work that people remember.
If you need help turning your creative process into finished design work that connects with Australian audiences, visit our website. Class Room Encounters works with small businesses to create websites that resonate with their stories.